Building an observatory.. with no telescope to put in it
After a long period with no new content I figure it's about time for an update. Unfortunately ongoing tracking issues with my mount has put a stop to all astrophotography activity in recent months. After many weeks of troubleshooting without resolution I took the scope and mount back to the store. They've evaluated it and haven't been able to find any obvious issue apart from an under-lubricated gear. I'm doubtful this is the cause of the issue but I've retrieved all my equipment and will be testing it out as soon as I have a clear night for observing. If the issue persists I'll follow this post up with a new entry explaining the problem and how I've tackled it. It's a complex issue that I'm frankly fed up with but spending some time documenting it may help.
In other news I've started building an observatory with my Dad. It's a hexagonal structure with a pier in the centre and we plan to put a dome on top. Construction has been proceeding well and we have the exterior walls up. There's still plenty to be done but not much more until it's functional at least. Pics below.
To start we've mowed down a patch of paddock, fenced it off and setup the profile for our foundations.
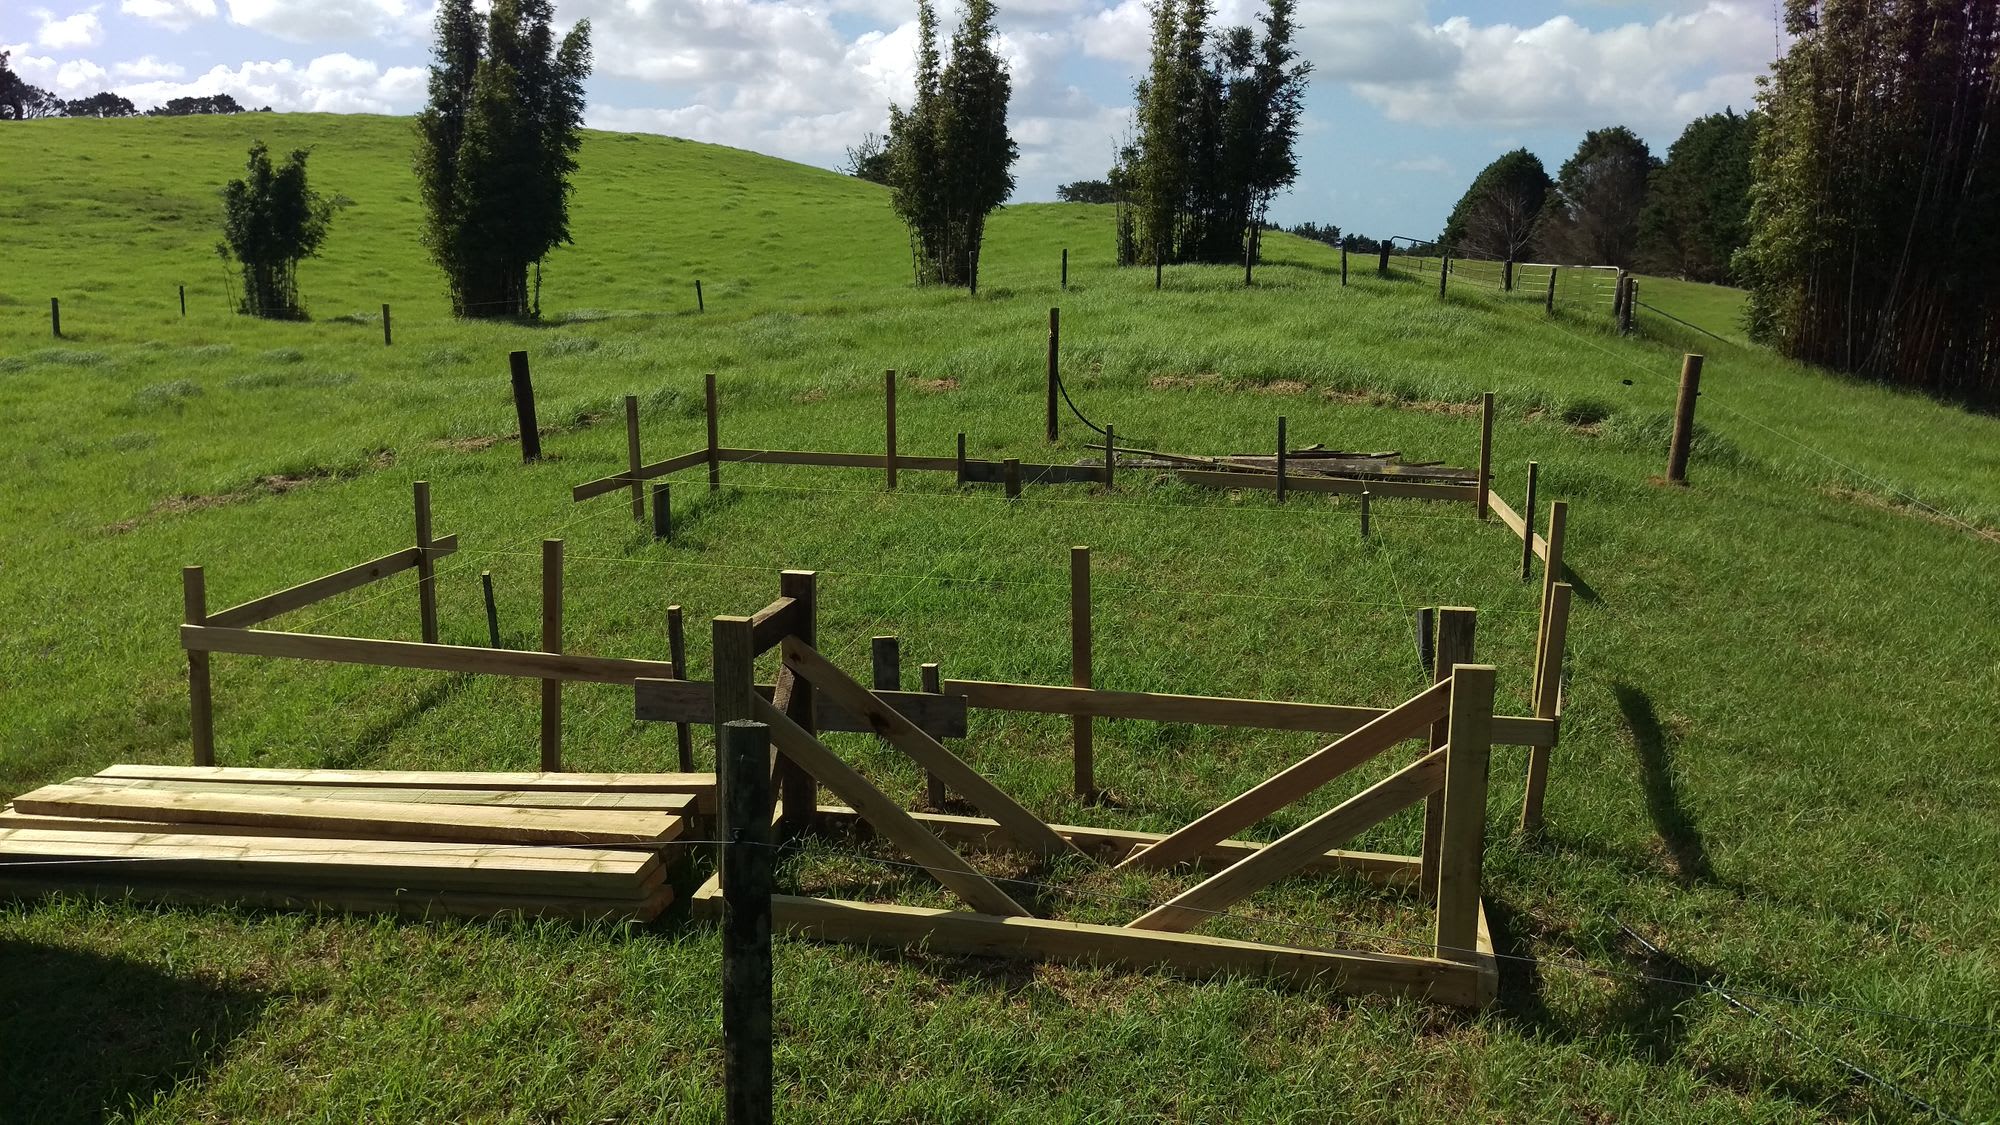
We've started digging and putting in posts along the profile. Still a lot more to do.

Each post is about a spade length deep with 1 bag of rapidset concrete.

Posts are done.

Unfortunately this is about where I start slacking off with the regular progress pictures. We've secured all the bearer beams to the tops of posts. We've been buying materials as we go and that's the latest batch of floor ply and framing timber resting on top.


Floor joists are done and I'm about to start screwing the floor ply down. The pipe in the middle is actually the concrete pier that will hold the base of the telescope mount. We dug a pit for it with a bit of boxing then filled the culvert pipe using buckets. I think I mixed about 20 bags that day, 20kg for each.


Fast forward a bit and we have the wall framing up.


Framing up the roof proved especially tricky. Working with a hexagonal structure and this roof type means you have beams and joists meeting at unconventional angles. These were awkward to measure, cut and fit. Progress slowed down at that point but we persevered and got it done. In these images we've almost finished secured the roof ply and the fascia is up. The bit of ply put up on one wall was a temporary measure to stop the extreme wind we experienced for a few days (yes, we still put the roof on in this wind).

Here we're finishing screwing down the roof. More walls have been put up temporarily so we can more pencil in window and door outlines to aid cutting later.


We've stapled on the building paper and are ready to put the exterior ply up. We've also sealed the top with a temporary roof to keep rain out.
Current progress isn't too far advanced from that last image. We put ply back up on all the walls and screwed it down. We didn't cut out any of the windows or doors as we were going way for a couple of weeks and wanted to leave it watertight. Since returning the winter weather has really set in so we haven't had much more of a chance to get out there and resume work. This gives me time to work out how I'm going to do the dome at least anyway.