Seeking balance
Part of the setup process when using a German Equatorial mount is getting both it's right ascension and declination axes in balance. Failure to balance properly will put additional strain on the mounts motors and gears at certain points, potentially leading to poor guiding and excess wear and tear.
In practice a slight balance offset can actually be quite useful as it can help keep the gear train pushing against the teeth of the gear instead of floating about in the backlash. The mileage of this technique varies depending on the mount and setup, however, the key word here is slight. A large balance offset will almost always result in reduced performance of any setup.
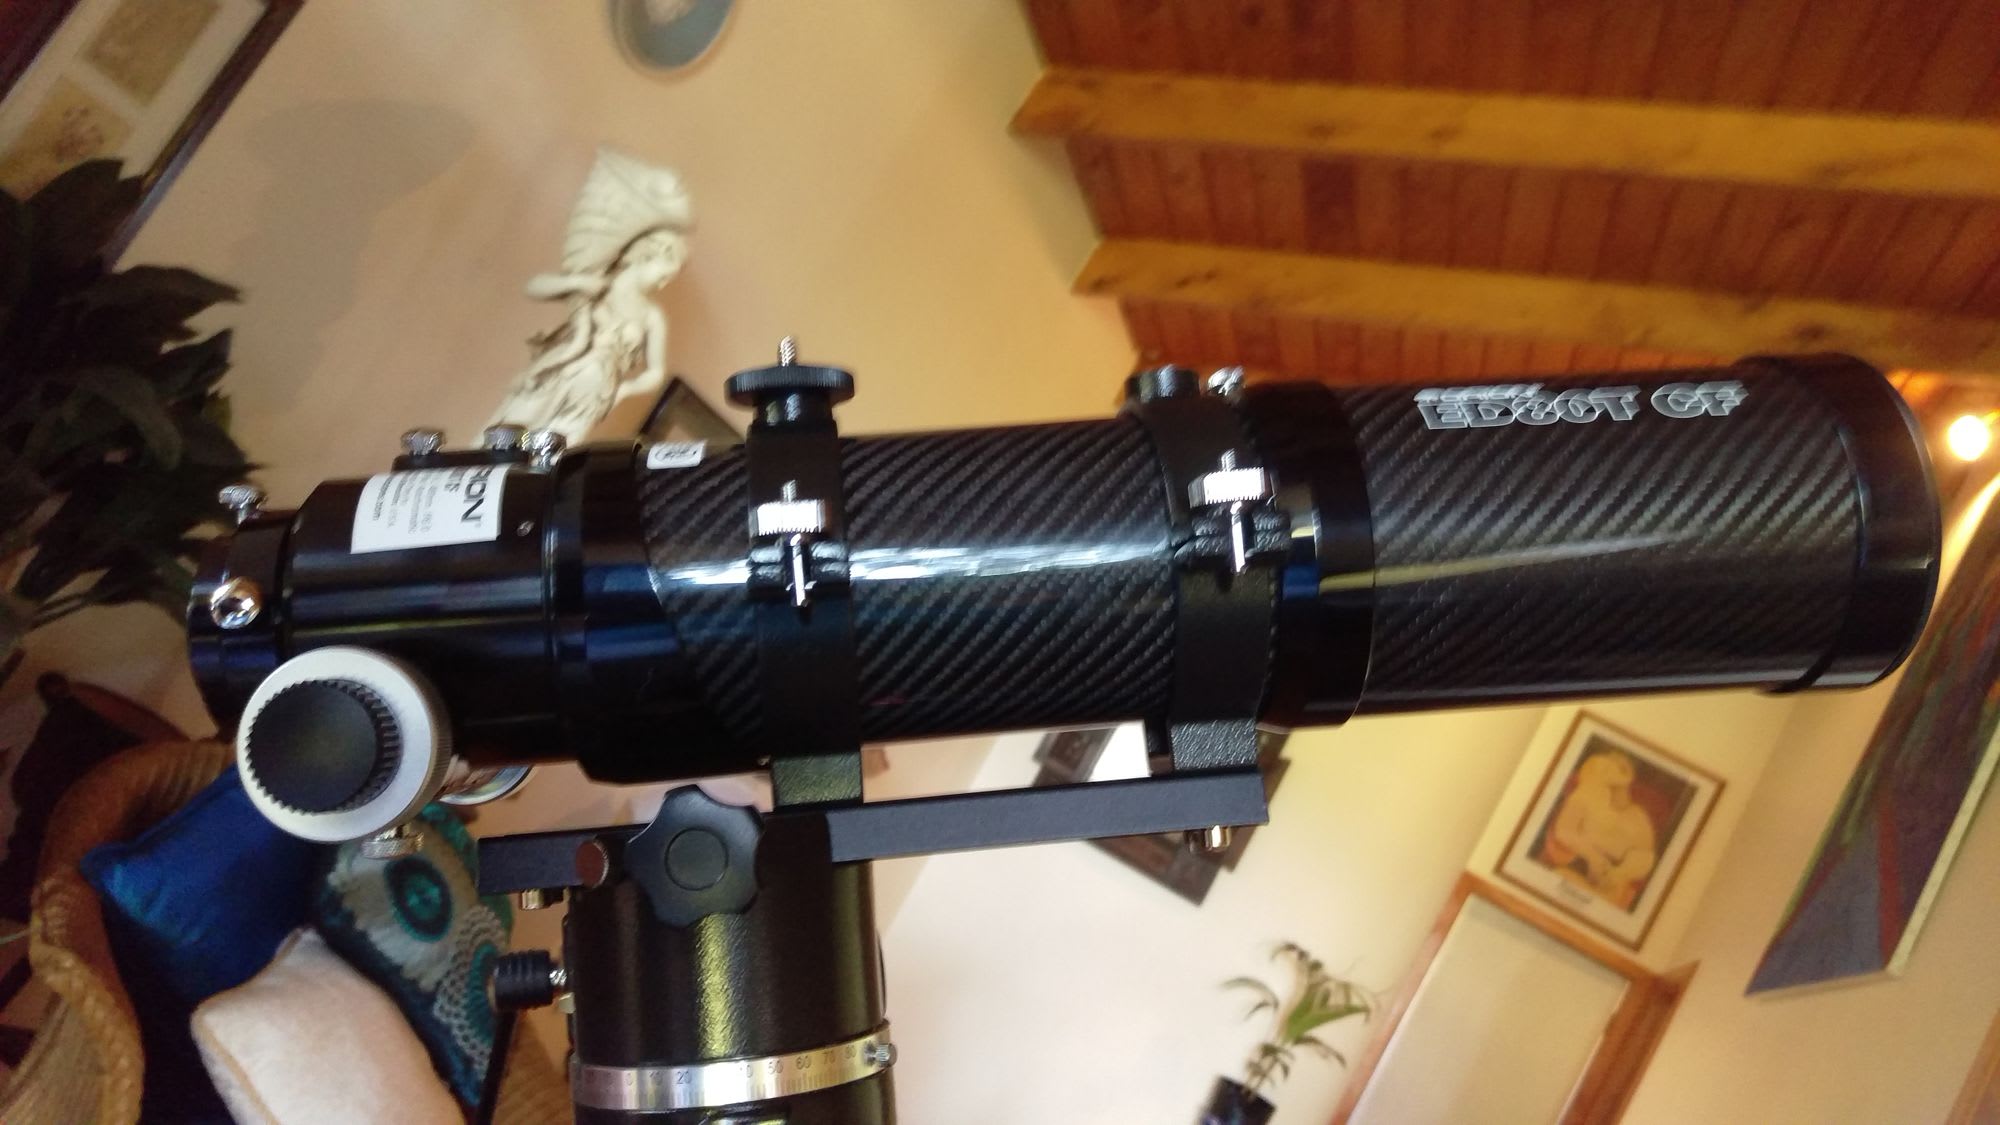
The balancing process itself is fairly simple. Each axis is rotated until parallel with the ground, as this is where maximum gravitational force is exerted at each end. Weight is then shifted until there is no pull on one side or the other when the clutch is disengaged. In the case of the RA axis this is pretty easy as there's a long counterweight shaft to which weights can be added/removed or moved along the shaft to fine tune balance. When it comes to declination it's a matter of shifting the telescope itself backwards and forwards in the mount saddle. This is where I ran into problems with my own setup as the 'foot' attached to the bottom of my telescope, which connects it to the saddle, is quite short and can only be shifted back and forth a small amount.
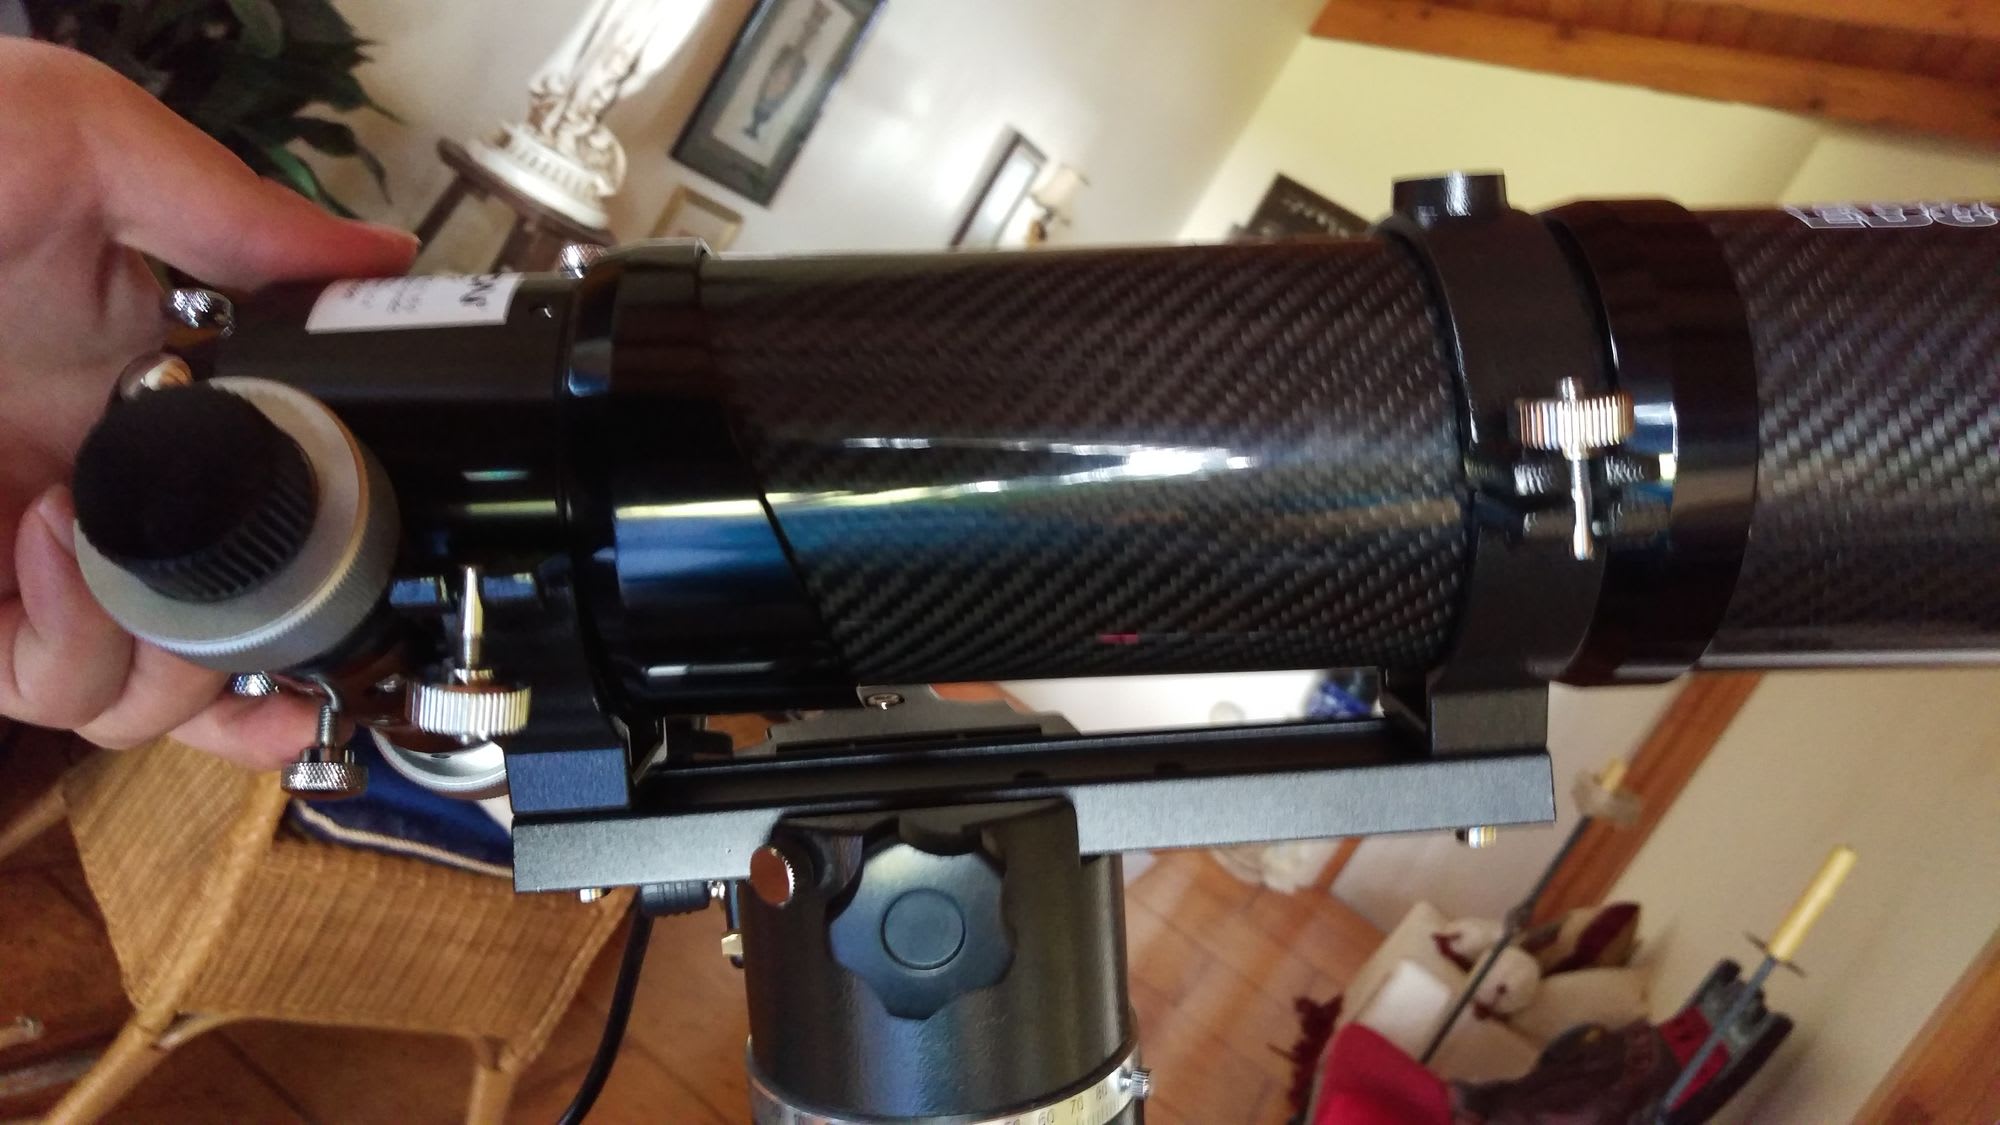
The solution in this scenario is to replace the foot with something that provides more leeway. My mount package included an 8 inch dovetail bar (dovetail refers to the bars wedge shape and is a common form accepted by most mount saddles) which would suit the purpose nicely. Next I would need a pair of tube rings to fasten the telescope to the bar. I ordered a 100mm pair from Orion as they appeared to be the least outrageously priced option for what is essentially just a piece of metal from a factory mold. As it would turn out 100mm was much too big a size for my scope so all savings were nullified as I had to go back and reorder the correct size of 90mm. For future reference my ED80T is apparently not part of the "Orion 80mm ED Refractor Telescopes" family, as their Tube Ring reference table suggests 100mm is the correct size for them... Anyway, after a few more weeks the rings arrived and I was able to start putting the pieces together. Assembly was a simple matter of screwing the included bolts through holes at each end of the bar into the threadings at the base of each ring. The rings themselves are hinged so the telescope is installed by just seating it in the rings then clamping them down tight enough that the scope doesn't move or rotate. This, unfortunately, is where I encountered a major issue: my scope was too short to accommodate the spacing between the 2 rings. With one ring at the base of the dew shield (fully extended), the other would be stuck beyond the base of the optical tube straddling the focuser. This would be unusable as tube rings can only be secured around the tube assembly itself.
Resolving this problem would require decreasing the spacing of the tube rings on the bar by at least 3 inches. At first the solution seemed obvious. The bar had 2 holes in it's mid section and using either one or both of them would have easily provided the required spacing. Unfortunately the holes in the mid section were threaded and were too narrow to take the provided bolts. I could have acquired some screws to fit but then, of course, they would be too thin to thread into the holes at the base of the rings which were obviously the same size as the bolts. Secondarily to this, having both holes threaded would provide much less of a compression force. To top it all off, the bottom of the dovetail bar needs to sit flush against the mount saddle so having bolt heads protruding from the bottom of the bars mid-section would render the whole thing unusable.
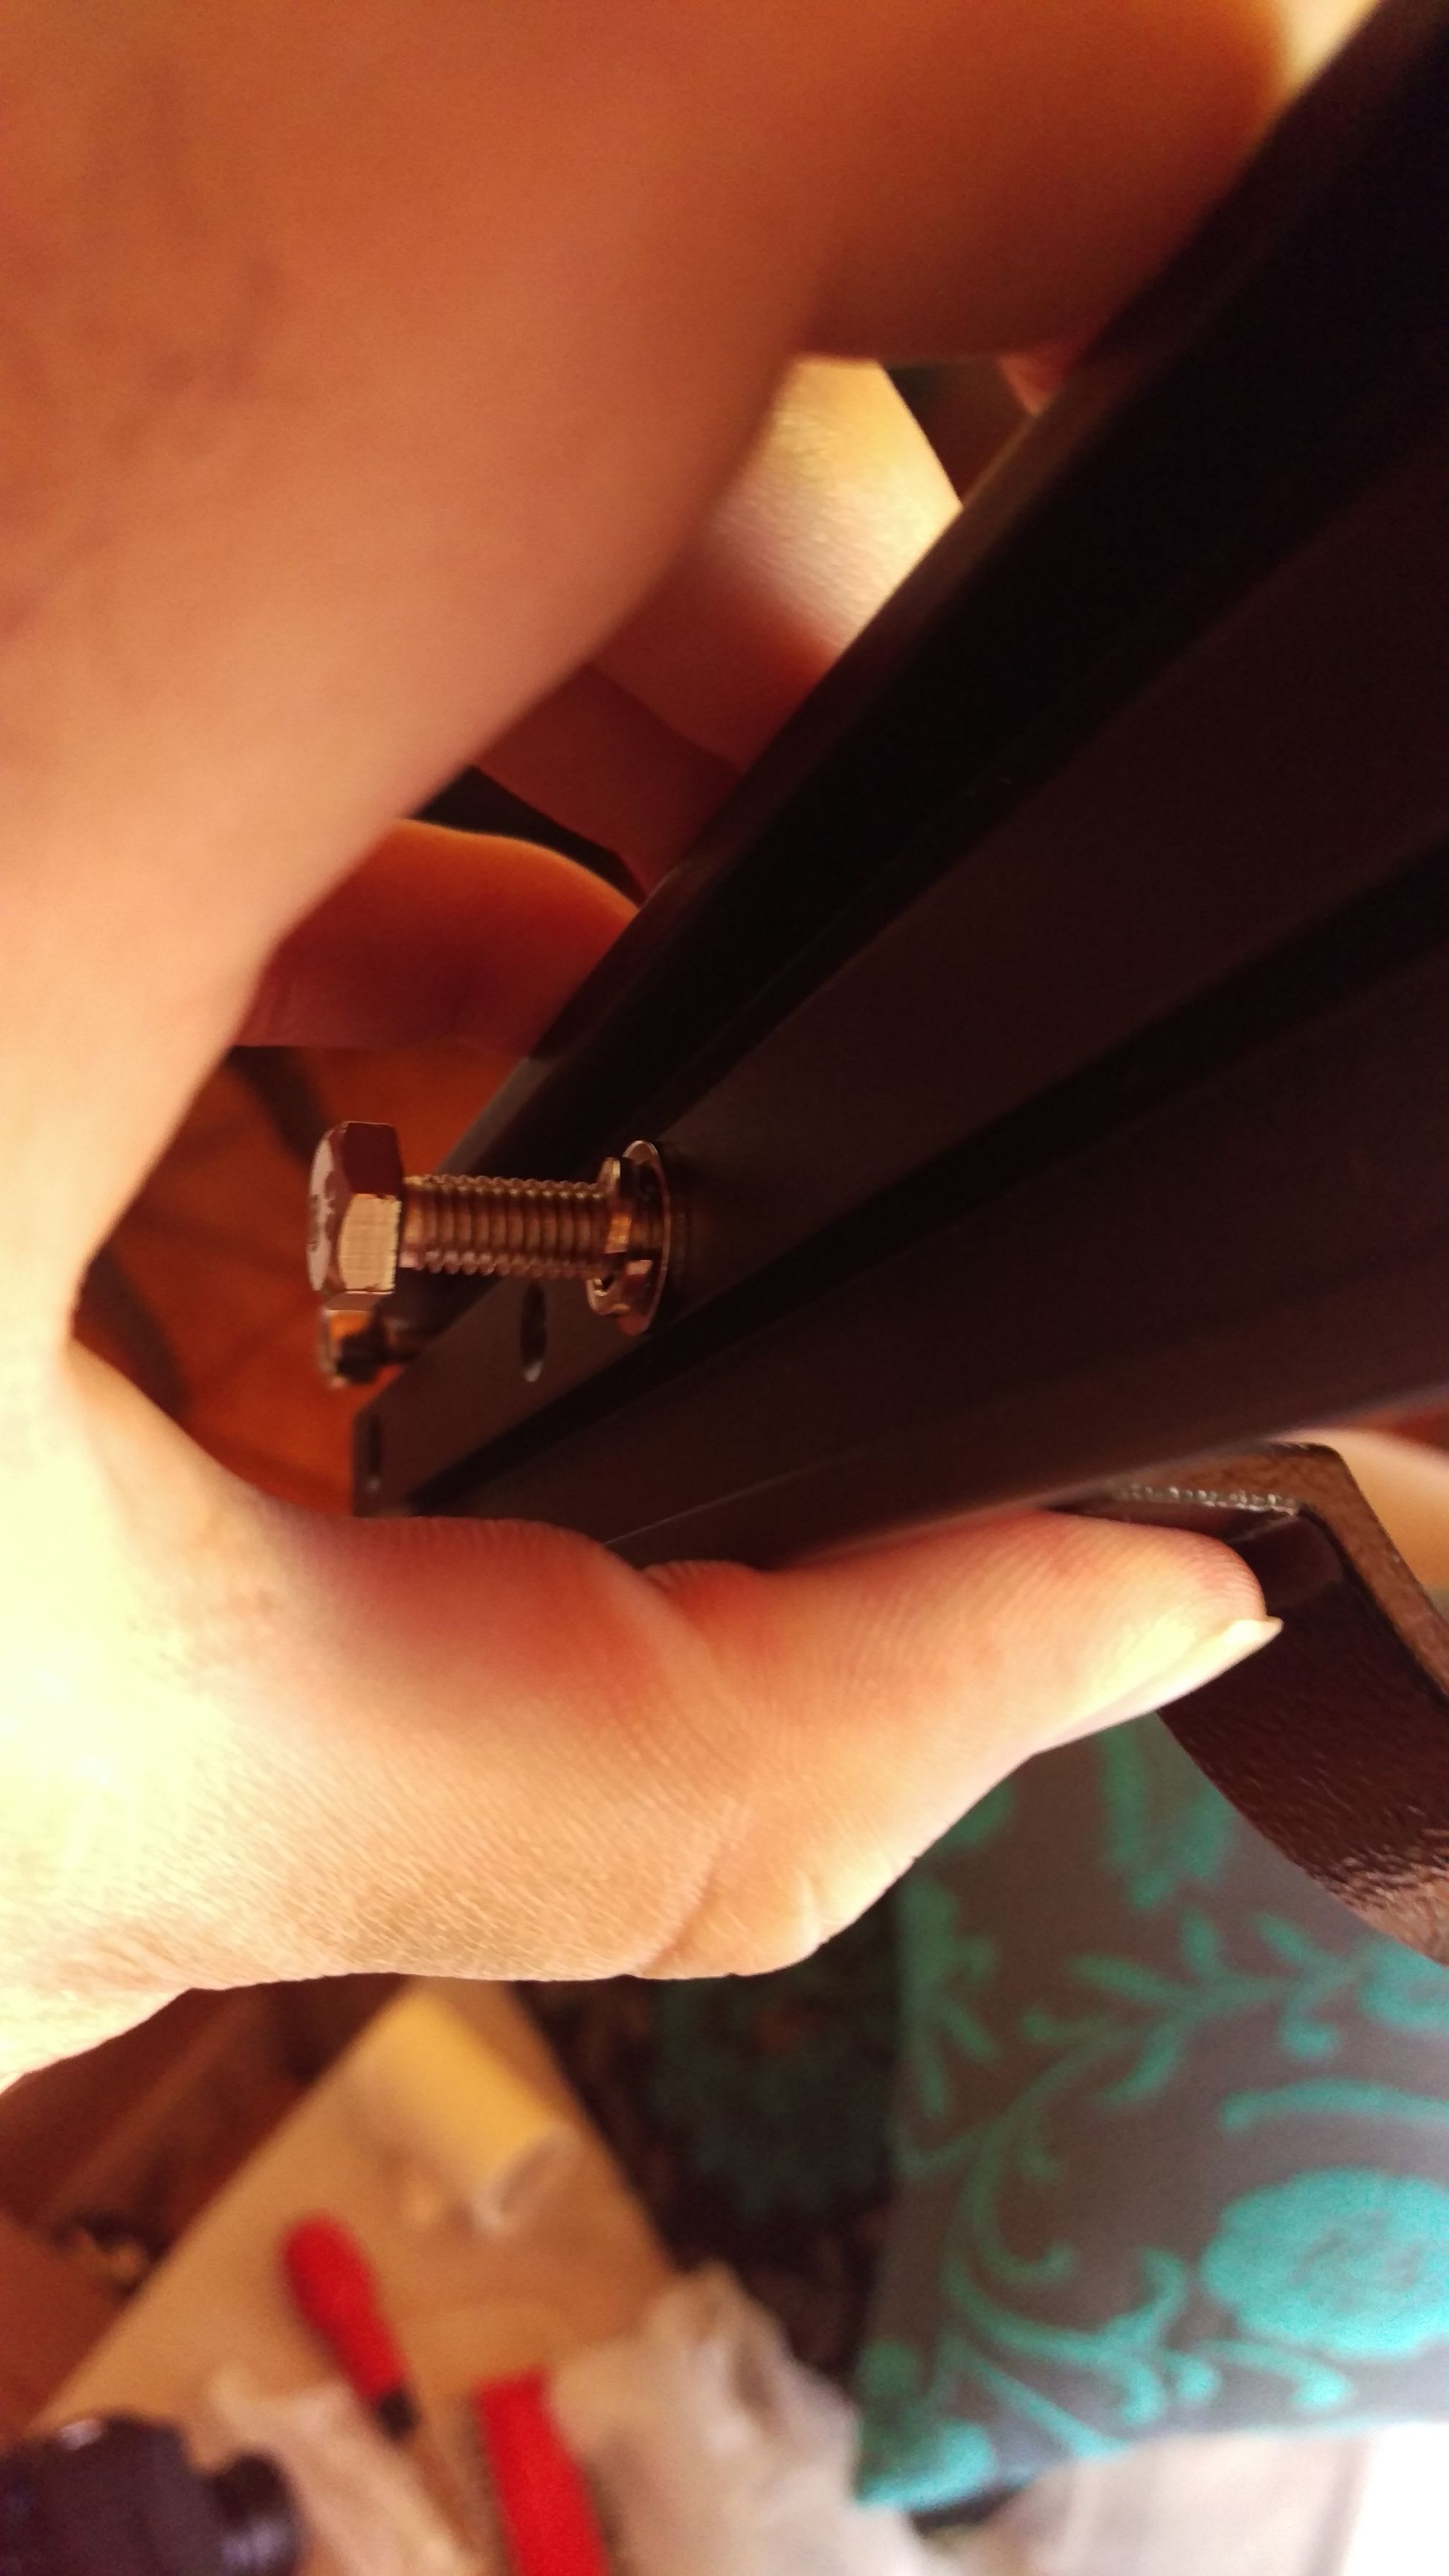
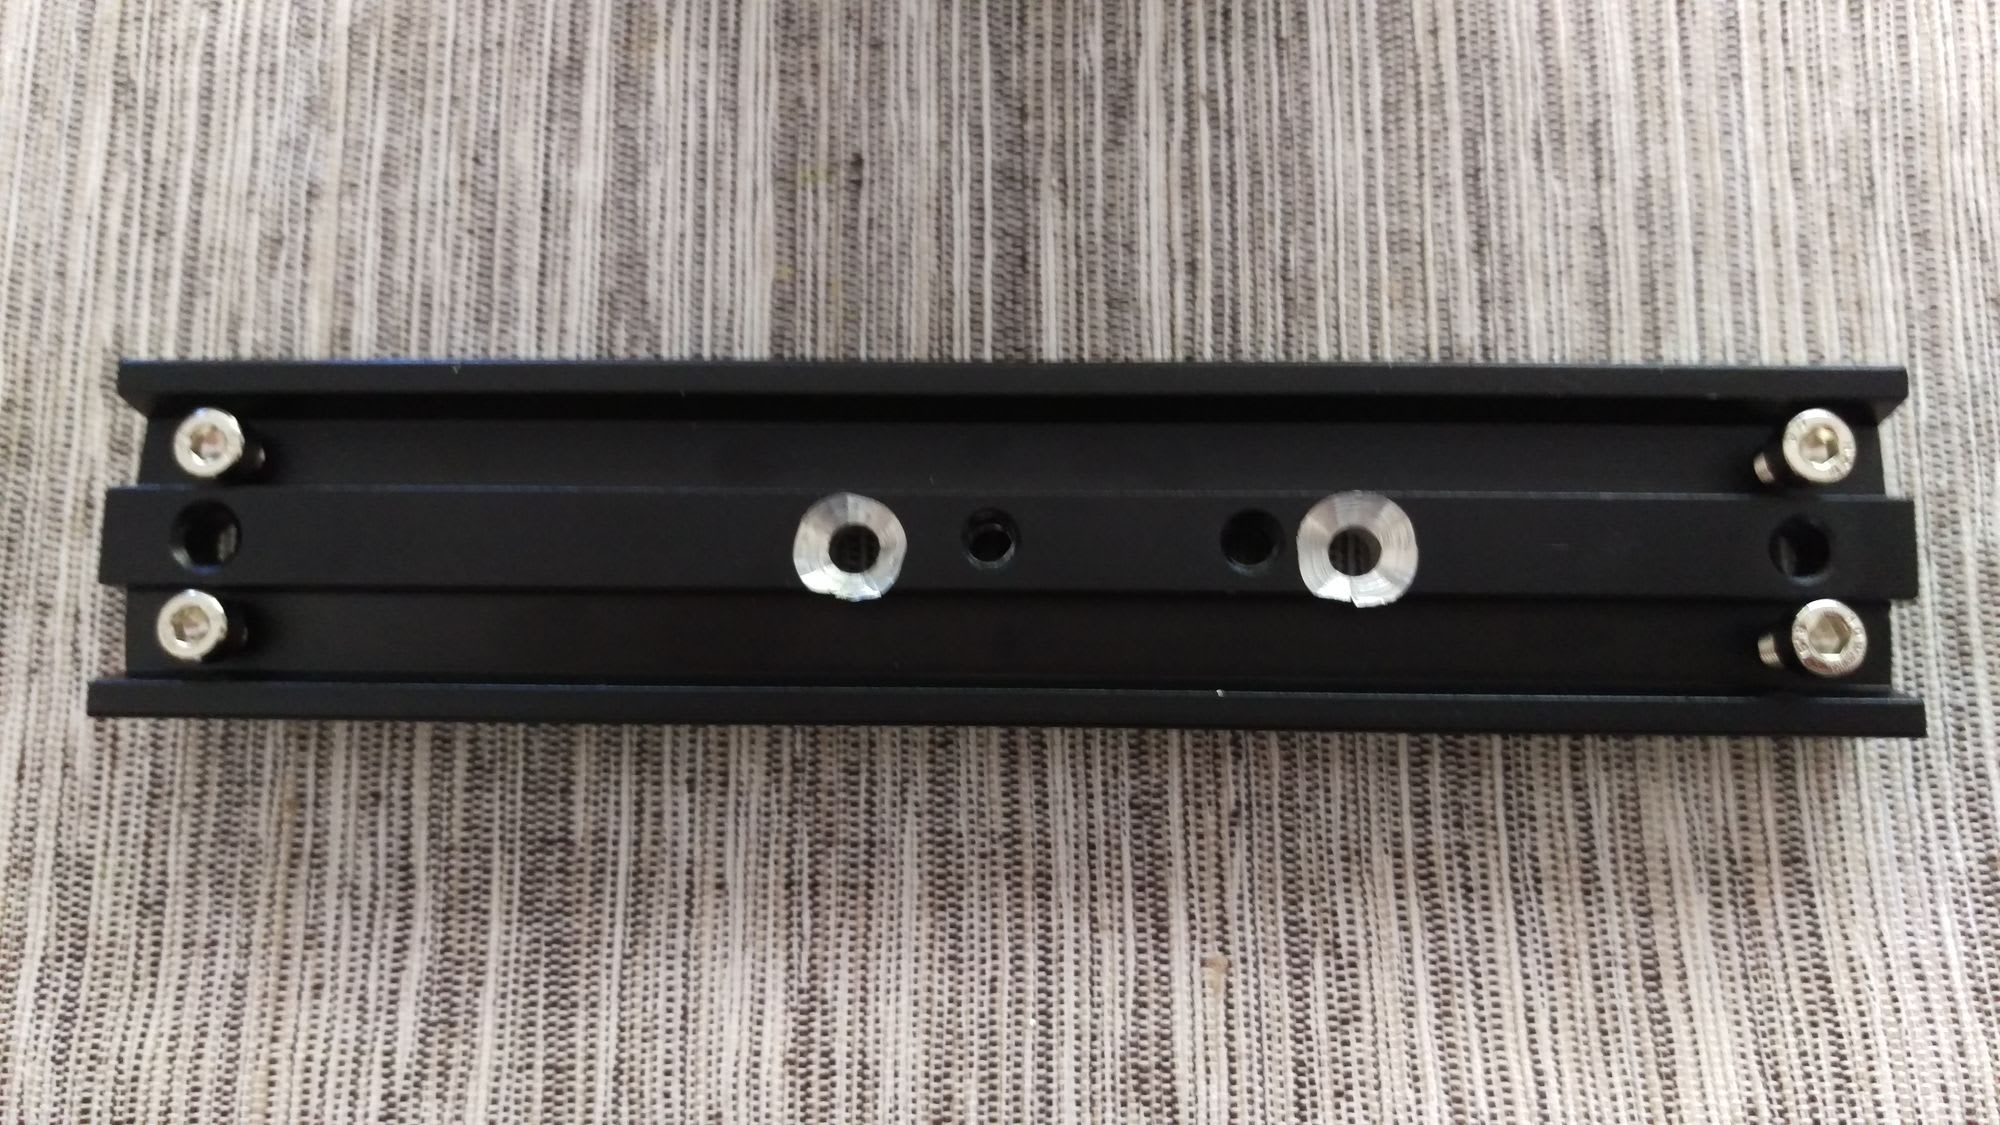
By this point it had become obvious that the only way to get what I needed would be to modify the bar itself. I took to it with a press and drilled two holes into the bar, one on either side of the two pre-existing holes. I really only needed one hole but I figured I may as well do two while I'm at it just to give me more spacing options. I had earlier acquired 2 flat head machine screws to match the bolts that came with the tube rings so countersunk the bottom of the bar to match them. See the final result below.
With the modifications complete I am now able to assemble everything appropriately. The 8" dovetail is only just long enough to achieve balance and I have to shift it almost all the way forward in the saddle but this is fine. The only downside of what I've done here is that I can only use the axis offset adjustment screws at the front end of the bar to correct for cone error. This could be resolved by drilling additional holes under the ring in the mid section so the remaining offset screws could be shifted there but it's likely they'd need to be trimmed down a bit to prevent them protruding into the saddle.